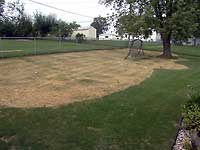
| The first item of business was to kill the grass where the garden was going to be. We surveyed where the wall was to be built from the plan, and then used grasskiller sprayed with a Hudson sprayer.
| 
|
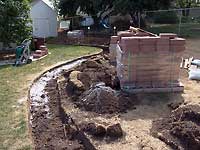
| Next, a trench was dug, where the new retaining wall was to be placed. It was filled with rock and limestone screenings, and compacted.
| 
|
| Next,we started building the retaining wall with split face concrete block. These were purchased from The Home Depot.
| 
|
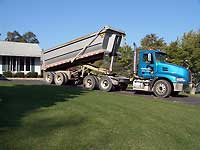
| The first weekend, we had 60 yards to soil delivered to the front yard. Two weeks later, we had another 60 yards brought in.
| 
|
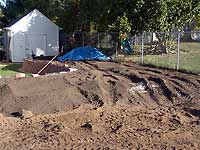
| This made for quite a pile of dirt!
| 
|
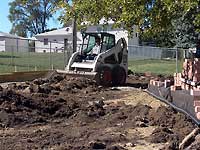
| Our friend Dan, brought over his Bobcat to bring the dirt around to the back of the house and into the garden. In this image you can see the draintile and landscape fabric we installed up against the back of the new wall.
| 
|
| At this point the east end of the garden is filled in and I have stock piled limestone screenings to spread out after to soil has settled. This was completed to make the yard and reverse loop area.
| 
|
| When digging, always call the marking service for utilities. I did, but the phone company never came out, and I hit my line and 3 neighbors phone lines. The phone company came out on Labor Day weekend Sunday to make the repairs (at their cost.)
| 
|
| This shot is looking west from the storage yard. All of the dirt has been brought in, and now the balance of the retaining wall can be built.
| 
|
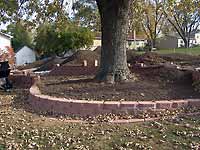
| This is the area around the large tree. We could only make it about 1' deep, as to not put dirt up against the tree. This will look good, with it being between 1' and 2' below the main garden area.
| 
|
| A retaining wall had to be built along the back side of the garden. Instead of spending $1.12 for each block, I am building this rear yard out of landscape timbers. I left about 3' between the fence and wall for access purposes.
| 
|